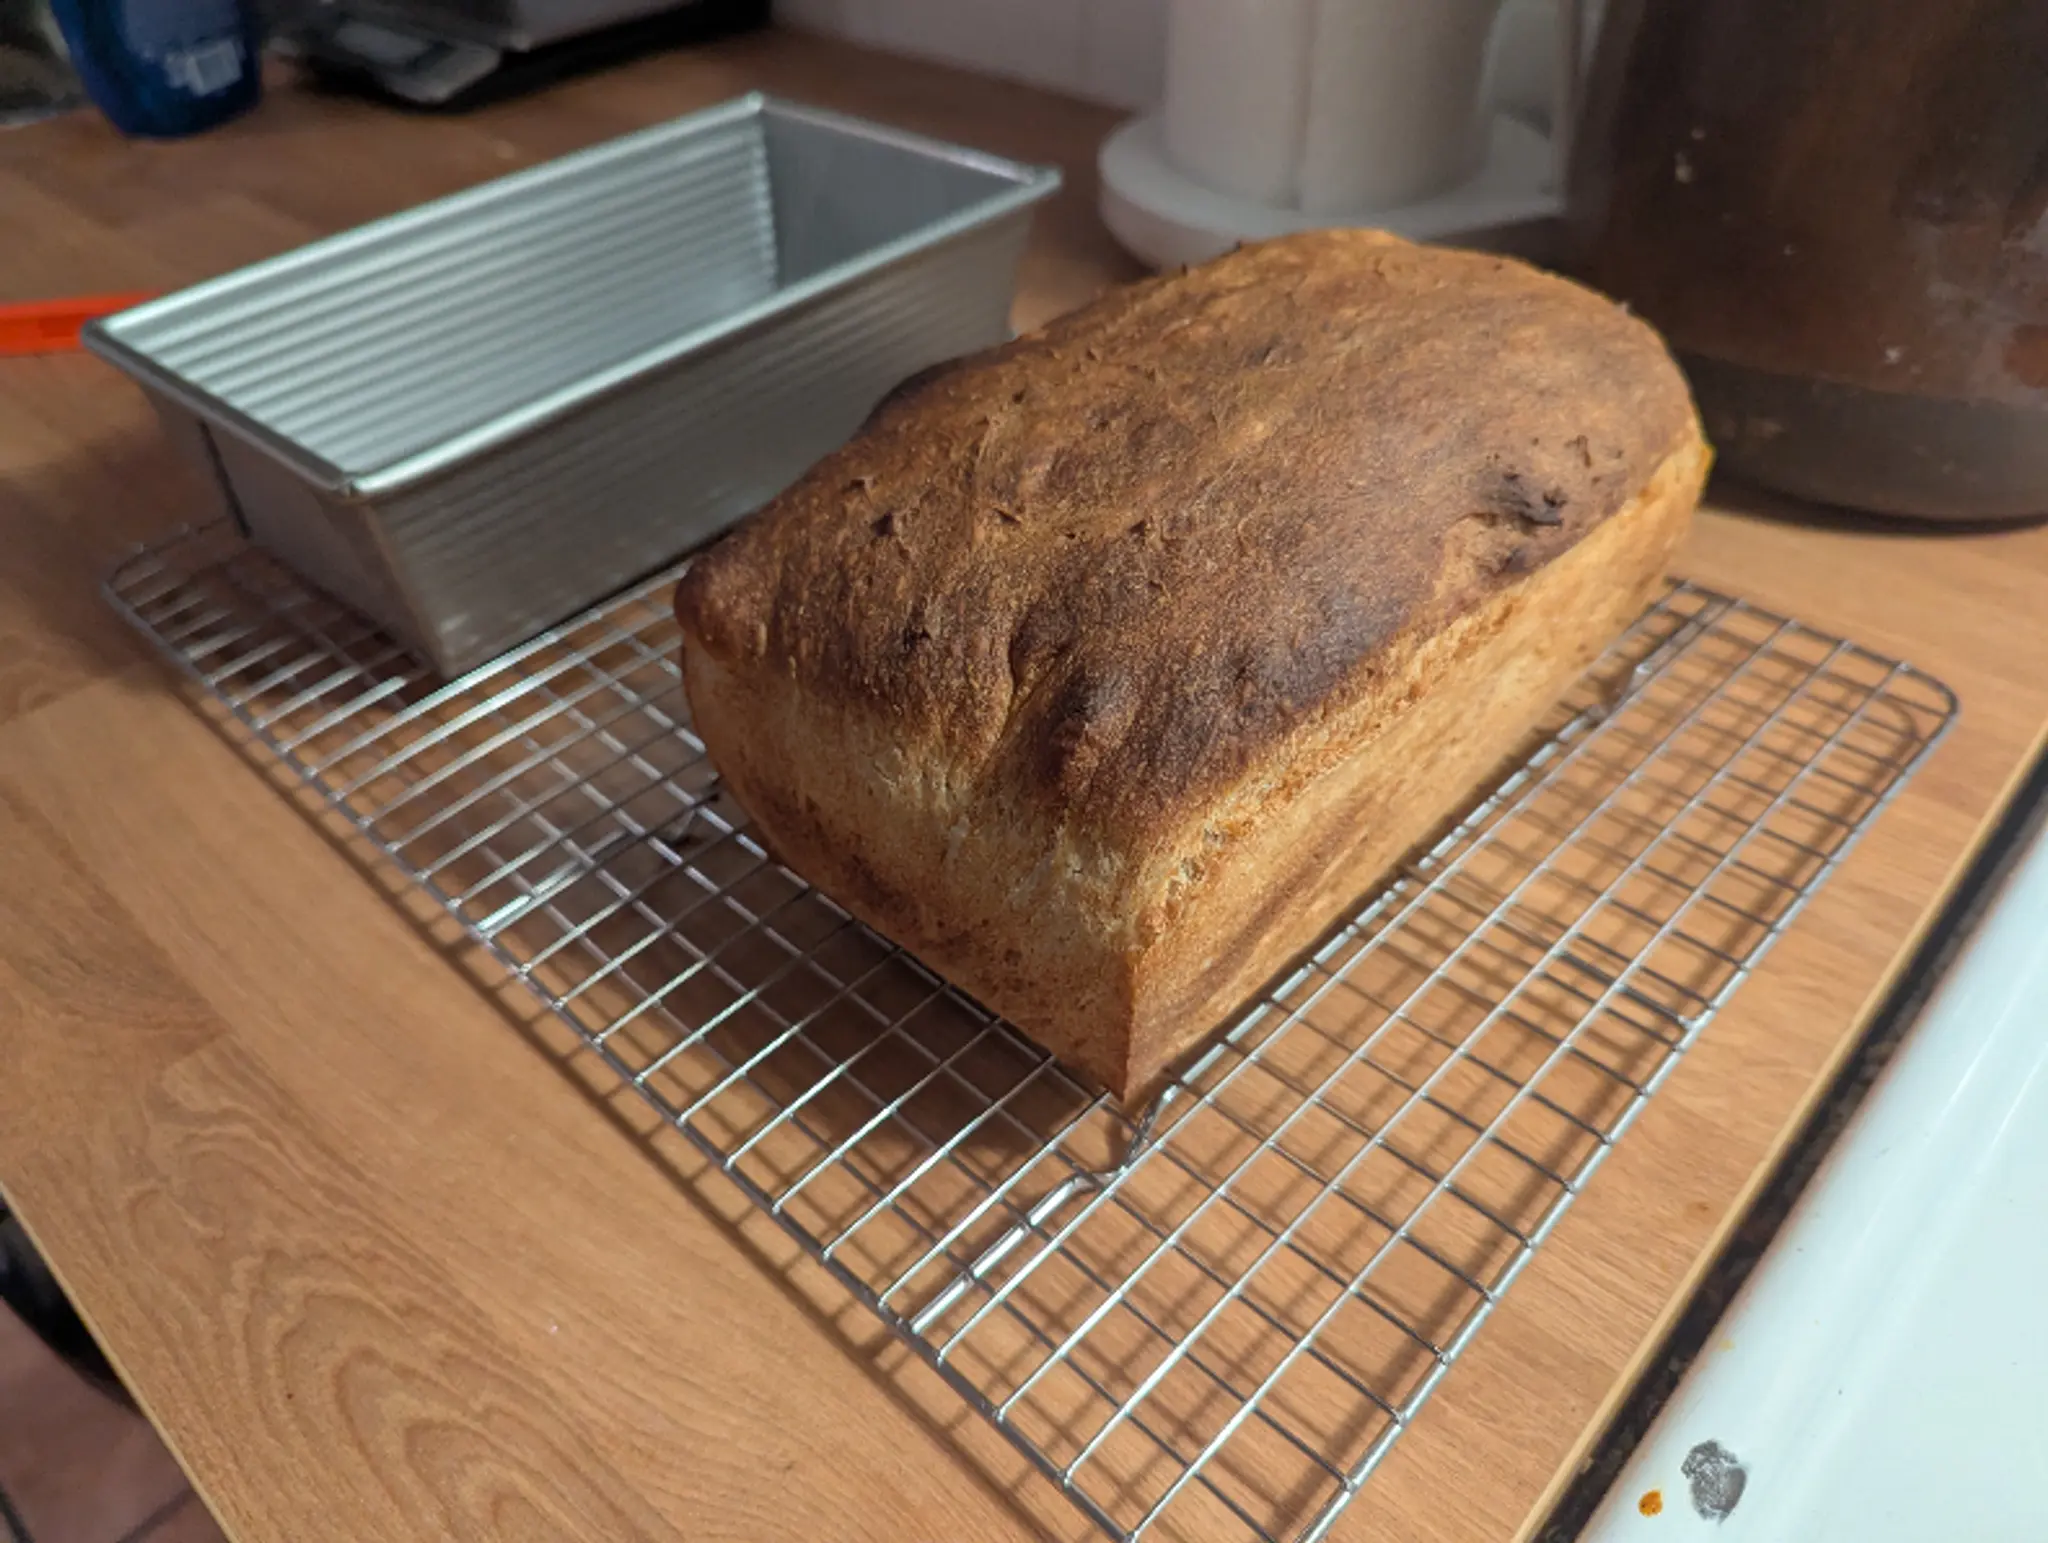
🥘 Ingredients
- water 390 g
- levain 100 g
- white flour 400 g
- whole wheat flour 100 g
- fine sea salt 11 g
- instant dried yeast 3 g
🍳 Cookware
- tub
- bread pan
- oven
Autolyse
-
1Measure water into a 6-quart round tub or similar container. If you have a levain, add levain from the refrigerator—you can weigh it directly into the dough tub with its water. Stir a bit with your fingers to loosen up the culture. Add white flour and whole wheat flour . Mix it by hand until all is incorporated.
-
2Sprinkle fine sea salt evenly across the top of the autolyse dough. Then sprinkle instant dried yeast on top of that. Let them rest there, where they will partially dissolve. Don't freak out about the salt and yeast being in contact. It's no worry.
-
3Cover and let rest for 15-20 minutes .
Mix
-
1Mix by hand, wetting your working hand before mixing so the dough doesn't stick to you. Reach underneath the dough and grab about one-fourth of it. Gently stretch this section and fold it over the top to the other side of the dough. Repeat three more times with the remaining dough until the salt and yeast are fully enclosed.
-
2Use the pincer method to fully integrate the ingredients. Make five or six pincer cuts across the entire mass of dough. Then fold the dough over itself a few times. Repeat, alternately cutting and folding, until all the ingredients are fully integrated. Let the dough rest for a few minutes, then fold for another 30 seconds or until the dough tightens up. The whole process should take about 5 minutes . The target dough temperature at the end of the mix is about 75°F / 24°C. Cover the tub and let the dough rise until the next fold.
Fold & First Rise
-
1This dough needs two folds (see page 41). It's easiest to apply the folds during the first hour after mixing the dough. Apply the first fold about 10 minutes after mixing and the second when you see the dough spread out in the tub. If need be, it's okay to fold later, just be sure to leave it alone for the last hour of rising.
-
2When the dough is two and a half to three times its original volume, 3 to 3 hours after the mix, it's ready to be made up into a loaf and put into its pan.
-
3If you are using a 6-quart dough tub, the ideal point is when the edge of the dough has reached just shy (about 1/4 inch) of the 2-quart line on the side of the tub, and the dough will be domed—not flattened, not collapsed. If it reaches the 2-quart line on your dough tub, that's fine too. It'll be best if you don't let it go beyond that, as you want to preserve what's left of the rise for the next stage, in the pan. If the room is cool and the dough is taking longer, let it continue to rise until it reaches this amount of volume expansion. If you're not using a marked dough tub, you'll have to eyeball it. Use your best judgment.
Remove the Dough from Its Tub
-
1Lightly flour a work surface about 12 inches wide. Flour your hands and sprinkle a bit of flour around the edges of the tub. Tip the tub slightly and then gently work your floured free hand beneath the dough to loosen it from the bottom of the tub. Then turn the tub on its side and ease the dough onto the work surface without pulling or tearing it.
-
2Even if your bread pan is nonstick, you might want to give it a light spritz of cooking spray. Nonstick pans are sometimes not 100 percent nonstick if they have been used a lot.
Shape
-
1With floured hands, pick up the dough and ease it back onto the work surface in a somewhat even, rectangular shape. You will stretch and fold this slack dough into something equal to the width of your bread pan.
-
2Following the shaping instructions on pages 43 to 44, with two floured hands, stretch the dough, simultaneously pulling it right and left (just spread your hands both ways at the same time to stretch out the dough) until it resists—two to three times its original width—and then fold the ends back over each other, creating a "packet" the width of your baking pan.
-
3Brush off any loose flour from the top of the dough and do a roll-up motion from the bottom up or from top to bottom to form a tube of dough that's about the same width as your baking pan. Place the dough seam-up into the pan. The seam is usually visible; it's the part of the rolled-up dough where the outer edges have joined to enclose the interior parts of the newly shaped loaf.
-
4Don't stress this. It takes repeated efforts to learn the hand skills to shape sticky, slack bread dough. The pan does much of the work for you, so if all you can manage is to get the dough into the pan, you are not a failure. It'll work fine. Dough bits will stick to your fingers; with time, you will get used to it. My trick is to always grab the dough by its driest outside and flour-covered bottom parts that aren't so sticky. Just avoid leaving any loose flour inside the dough before you roll it up into the pan shape.
Proof
-
1Use your hand to apply a light film of water across the entire top surface of the dough after it's in its pan. Then place your bread pan in a nonperforated plastic bag, but do not make it tight at the top. Leave plenty of room for the dough to expand, a few inches, and tuck the bag under the pan. It doesn't need to be airtight. The point of the bag is to keep the dough from drying out during the next hour of proof time.
-
2With my usual bread pan (8 1/2 by 4 1/2 by 2 3/4 inches), I like to see the dough rising a bit above the rim of the pan before baking, but you can't let it go too far above or it will collapse over the edge. If your pan is larger, the dough likely won't rise above its rim. See photos of perfect proofing on page 50.
-
3Plan on baking the loaf about an hour after it is shaped, assuming a room temperature of about 70°F / 21°C. If your kitchen is warmer, it will be optimally proofed earlier.
Preheat
-
1About 45 minutes prior to baking, position a rack in the middle of the oven and preheat the oven to 450°F / 230°C.